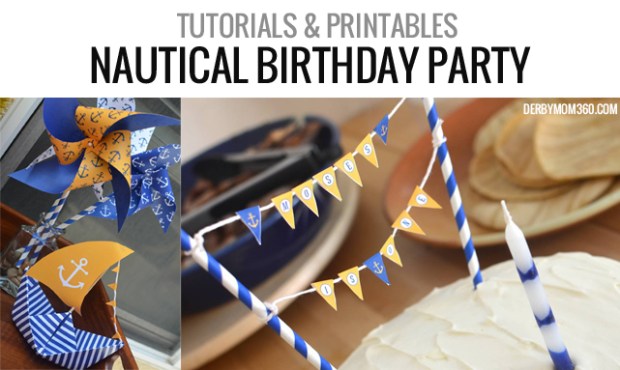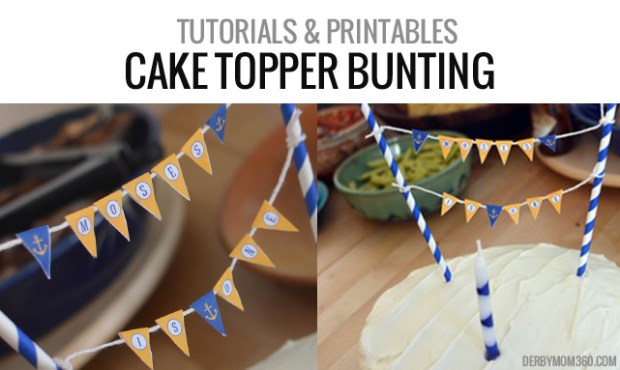
I wanted to stick with the nautical theme for this party as best I could so I wanted to do some sort of cake topper that went with the rest of the nautical look. A miniature bunting seemed like a great way to do that!
CAKE TOPPER BUNTING SUPPLIES:
PRINTED PAPER
EXACTO KNIFE & MAT
SCISSORS
RULER
GLUE
STRING
STRAWS
Below is a printable PDF of the bunting. There is one set of flags that says “Baby is one” so you don’t need to do any extra work to make that topper. There is a second set of blank flags which you can add your own letters. I used Hagin Caps Medium font which I thought looked very cute with this theme. You can print the flags as they are and then write the letters by hand. You could cut out and glue letters on. Or for those of you more graphically inclined you could use any page layout program to add the letters on the computer and then print them out already to go. Whatever method suits your still set. Here are the files you’ll need:
Printable Cake Topper Flags
Font – Hagin Caps Medium
For me, it was easiest to just layout all the letters on the computer. I printed out all my flags on regular copy paper. Cutting these flags out is a bit tough because they are so miniature. You may find it easiest to cut these out with an Exacto knife and a ruler. It’s a great way to make very straight lines but if you don’t have a craft knife, scissors will do just fine.
 Now you’re ready to start attaching your bunting. I chose to hang my banner in two lines but there’s no reason why you can’t string it all in one either. It just depends on the size of your cake.
First, you’ll cut a piece of string a few inches longer than your cake. Then layout you diamond shaped flags in the order you want to them out. It may be helpful to start from the center of your string with the middle most flag and work your way out to evenly space them. The flags are diamond shape so you can fold them in half over the string. Then add a tiny dot of Elmer’s glue and press it tightly for 5-10 seconds. Then move onto the next flag.
Once all your flags are glued on, you’ll take your straws and place them at a distance and angle you like in your cake. Then tie off each string very gently to the straw. I chose to use paper straws because I had some that went with my theme. If you don’t have any, you could also use a wooden skewer, a chopstick or anything else you can dig up around the house.
Up close your topper may not look perfect, but once it’s placed in your cake it will all come together and look great. The flags are very tiny for this project so be patient with the process and be sure to print an extra set in case the first attempt doesn’t work out.
That’s it! Topper complete. I grabbed a random Hanukkah candle to match my color scheme. No need for a big fancy candle since your topper is really the star here.
 LET THEM EAT CAKE!
 Now you’re ready to start stringing your bunting. I chose to hang my banner in three lines but there’s no reason why you can’t string it all in one either.
 FINISHED!
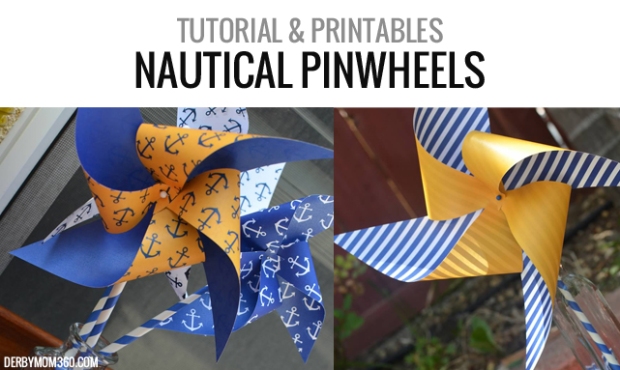

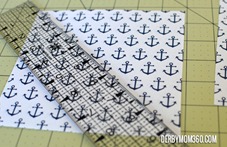
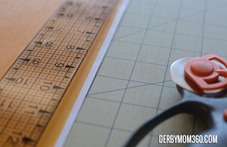 First, you’ll want to trim off any unprinted area on the page. My printer leaves about 1/8″ that is not printable space and needs to be cut off. I prefer to use a rotary cutter and ruler to get a clean line but scissors are also fine.
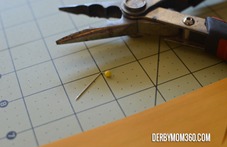
 5″x5″ makes a pretty nice sized pinwheel but you can play around with it. Any size square will work. For my party, I made a couple big ones and a couple of smaller ones. If you go 4″x4″ or smaller you can make two per page. For those who would rather trace a pattern, Oh Happy Day has
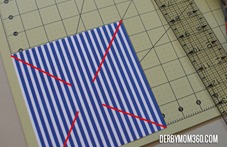
 Also, when you fold them in, go a little passed the center mark with the point so you have enough to put the pin through to tack it down. I found through trial and error it was a bit easier to primp the pin first and the poke it through the 5 layers of paper and then the paper straw. I also found the pins with the round plastic heads looked a bit better than a traditional pin, though either will do just fine.
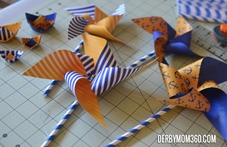 S
S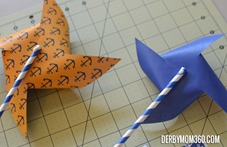 o once all 4 points are folded to the center area and have overlap, poke the pin through all points and the back layer and then through the paper straw. I trimmed down the end of the pin with my wire cutters and then added a dab of Elmer’s glue to the exposed edge so that once the glue dried, there was a clear protective covering over that part which could be a bit scratchy and could also fall out with use. If you choose to go with a pencil, you will not need to do the glue or the crimping, you’ll just poke it right into the eraser and cut the end down. I had paper straws that were perfect for my theme so I decided to do the extra steps.